- Take Selfie
- Record Video
- Record Slo-mo
- Take Photo
Same way, you can create direct links in your app as well to allow users navigate quickly in your app.
This is the first part of tutorial illustrating implementation of 3D touch.
3D touch (also known as Force Touch) can be used mainly in 3 ways:
- Home Screen Quick Actions.
- Peek and Pop.
- Customised user interaction using
UITouchforce properties.
Implementing Home Screen Quick Action is very easy. So let’s begin with it.
Creating Shortcuts
You can add Actions in 2 ways.
- Add actions in
info.plistfile, - Add actions manually in
didFinishLaunchingWithOptions.
To add a action from
info.plist
open a .plist file and create a array with key
UIApplicationShortcutItems
.
The
UIApplicationShortcutItems
may contain a dictionary with following objects:
##### Required keys:
UIApplicationShortcutItemType,
UIApplicationShortcutItemTitle
##### Optional keys:
UIApplicationShortcutItemSubtitle,
UIApplicationShortcutItemIconType,
UIApplicationShortcutItemIconFile
UIApplicationShortcutItemUserInfo
Once you add it in
info.plist
file, it will look like this,
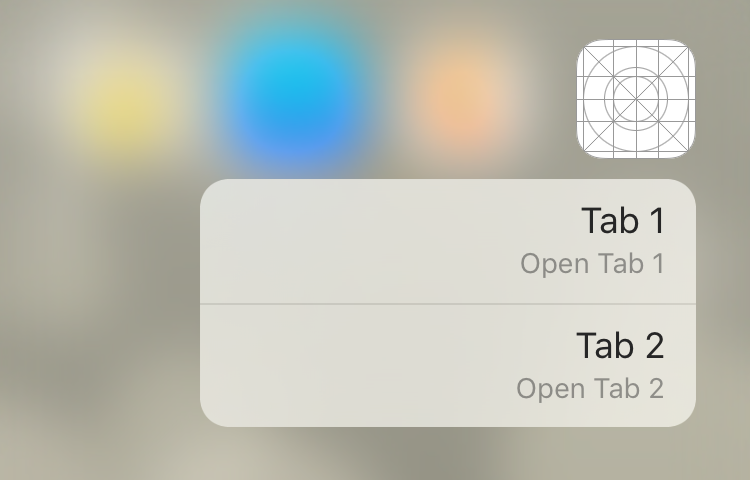
When done, run the application. After executing application on your iPhone 6s/6s Plus, Force touch the app icon.
Bingo!! That’s enough to show short cuts. You will see short cuts like this,
Handling Selected Shortcut
Now our next task is to handle the selection of shortcuts.
You can handle action of selected short cut with a delegate method of UIApplication
performActionForShortcutItem
:
func application(application: UIApplication, performActionForShortcutItem shortcutItem: UIApplicationShortcutItem, completionHandler: (Bool) -> Void) {
// Handle Selection
if shortcutItem.type == "Tab1" {
//  Display Tab 1
} else {
//  Display Tab 2
}
}
It should be very easy for you now to add shortcuts to the app and utilise this feature to facilitate users to quickly jump to specific screens of the app.
In the second part of this article we will learn some more interesting things we can do with 3D Touch.


